Building a Conference Room Hero with Custom PCBs and 3D Printing
Justin Sinichko, Former Hardware Developer
Article Category:
Posted on
“Houston, we have a problem.” Viget’s conference rooms are active. And I mean active. Meetings, ad-hoc phone calls, pairing sessions, even 3D printing, all take place in our conference rooms. As a result, finding a room in a moment’s notice can be something of a challenge. Last year, we explored hanging colored origami lanterns outside conference rooms. Like “ON AIR” lights, we wanted to make it super simple to know which rooms were available and which were not. We called these “Illumigami” lanterns.
It wasn’t long before Illumigami became an office staple. As you can imagine, the elegant solution was not only effective, but fun for office staff and an eyecatcher for office visitors. It was a prototype that worked well and the other offices were eager to try it out. So, we hit the whiteboard and re-imagined Illumigami. It needed to scale across our other offices and their unique conference room situations. The result is a journey that you may find interesting if you’ve ever been curious about custom circuit boards or 3D printing.
Whiteboarding
Our second pass began with a fundamental redesign of the architecture. Instead of a centralized system that controls multiple rooms, we repackaged core components so that each room is independent from one another.
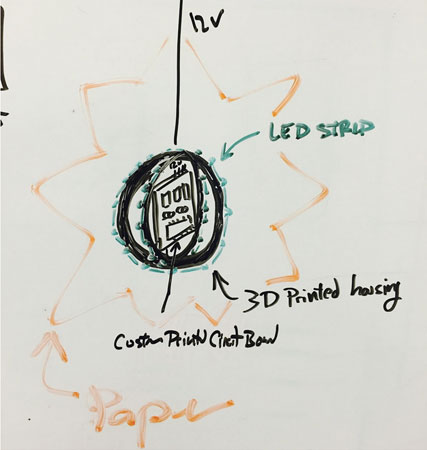
Whiteboard concepting of a more modular Illumigami lantern.
To keep assembly simple we designed a custom circuit board. We also decided to try out UpVerter, a Y-Combinator Saas PCB design utility startup with collaboration features. UpVerter incorporates some of the best aspects of Eagle (layout), Google Docs (collaboration), and GitHub (repos for your project). Some are calling UpVerter the GitHub of hardware. In my opinion, a screaming benefit of UpVerter is the simple export options. I was interested in exporting Gerber files (one for each layer for PCB manufacturing), so I was thankful to see “Gerber Format” as one of the first options. I was also ecstatic to see a .STL export method (though, understandably, not all components have a 3D representation). With one click I was able to generate the files I needed for PCB manufacturing, and with another I had a 3D model. Super.
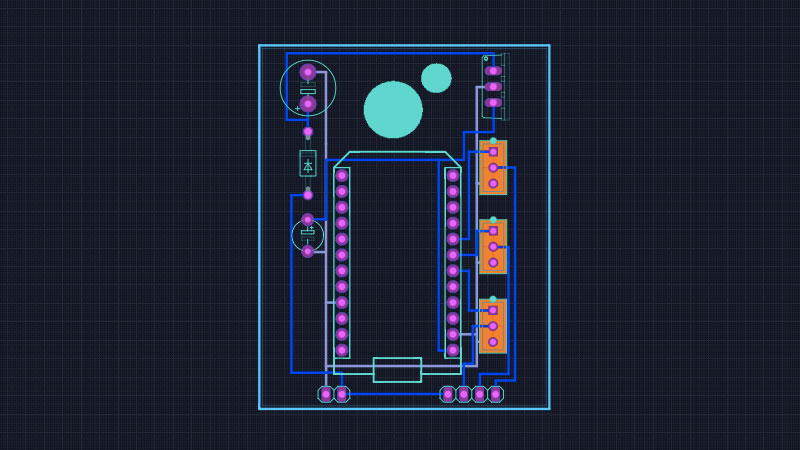
Illumigami PCB layout in Upverter. Note the fantastic use of color.
Custom Circuit Boards
We ordered PCBs from Smart Prototyping (China). We could spend a week discussing PCB sourcing, but suffice it to say that you’ll be hard-pressed to beat the prices coming out of China right now. Furthermore, turnaround times have dropped drastically and it’s possible to receive your order in less than a week depending on lead time and shipping selections. Some recommendations to keep in mind the next time you order PCB prototypes from Smart Prototyping:
- Boards smaller than 2.5 cm can be panelized for free. This will essentially double your quantity - email info@smart-prototyping.com to request auto-panelization.
- Lead free surface finish is only +$5.00 (Just do it)
- 2-layer 48 hour lead time is +$28.00
- DHL 2-3 day shipping is ~ $33.98
- Ordering corrected PCBs before a Friday? Priceless.
We ordered boards on a Thursday and received them at our commercial address by the following Wednesday. Now that’s manufacturing magic.
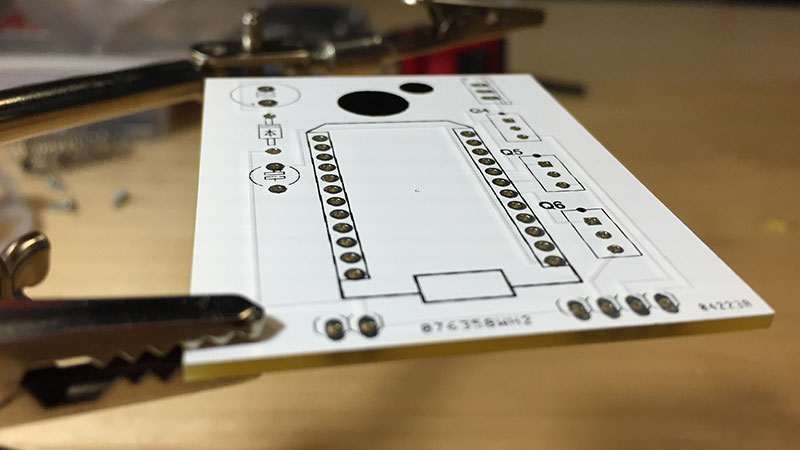
Custom printed PCB from Smart Prototyping.
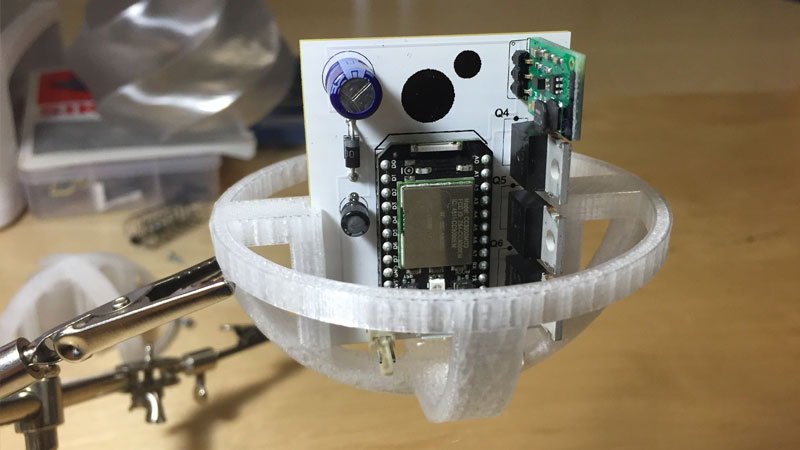
Assembled PCB inside of 3D printed housing.
3D Printed LED Housing
Back at our office, we were using our 3D printer to make magic of our own. Recently, we’ve been experimenting with design processes that make manufacturing production parts fast and affordable. We accomplish this by offloading production to 3D printers. This isn’t a new concept -- the 3D printing revolution was kick-started by an attractive vision of printers producing production parts for other printers... self-replication. This concept continues to grow and develop. I recently noticed that Makexyz.com offers a distributed manufacturing service which crowdsources the manufacturing among thousands of independent hobbyists and professionals with 3D printers. For now, we’re meeting our own needs just fine with our own Lulzbot Mini.

Lulzbot Mini printing with T-Glase.
We designed housing to support and protect Illumigami’s electronics. In 2 hours or less (depending on the type of filament used) we were able to manufacture housing for another Illumigami. This housing slid along the edges of the Illumigami PCB to where it met with the other half of the housing. The entire assembly was then wrapped in strip LEDs and connected together with Molex connectors.
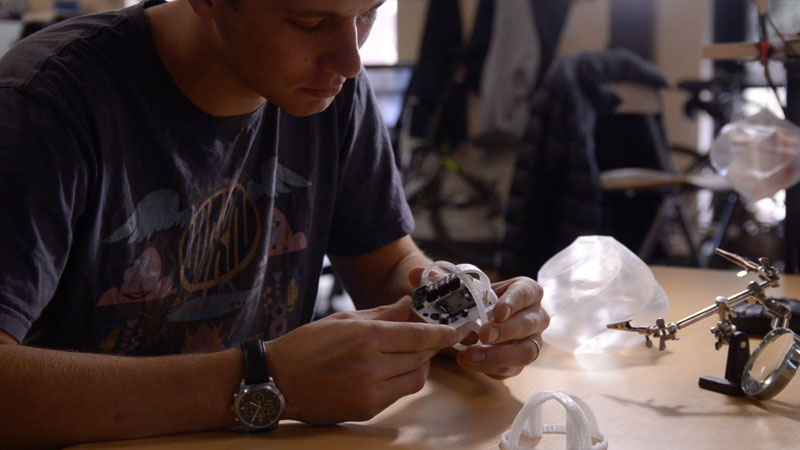
Illumigami maestro Eli Fatsi assembles two 3D printed halves.
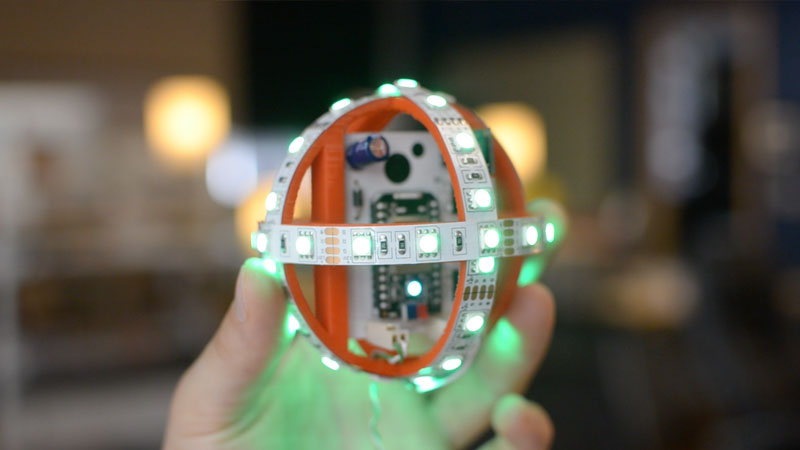
Illumigami custom printed circuit board, 3D printed housing, and illuminated strip LEDs.
3D Printed Origami Lantern
One of the most compelling aspects of Illumigami is the ornate origami shade that diffuses light. We’ve seen everything from origami cranes to stellated icosehedrons. But when we revisited Illumigami we allowed ourselves to consider other mediums that were just as interesting as paper origami. This lead us to 3D printed orbs. We used Rhinoceros to create a relatively simple tear-drop shape that we twisted and split in half.
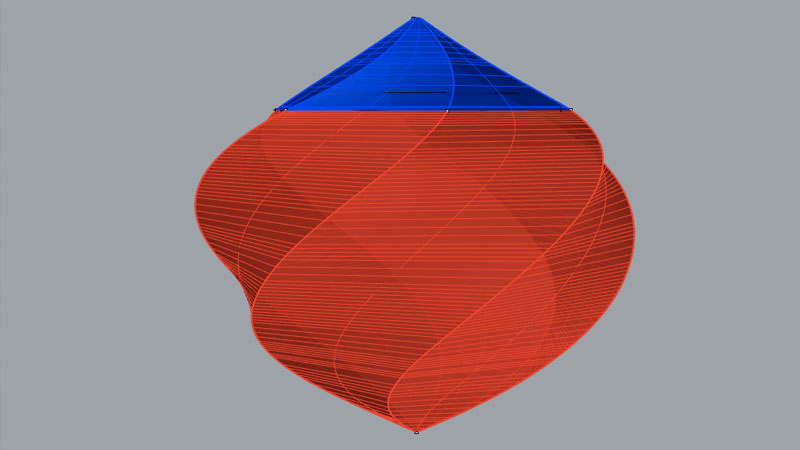
Rhinoceros model of Illumigami Orb. Halves are in different colors.
The resulting parts were printed using a clear translucent filament named T-Glase, then assembled around the Illumigami hardware. The result was a remarkable shape that would have otherwise been impossible to create with paper.
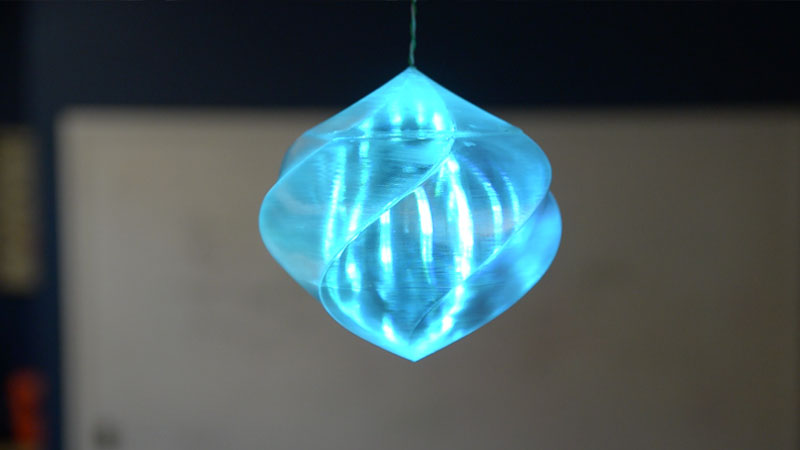
Completed Illumigami lantern with 3D printed translucent orb.
Custom Software
We wrote custom software that connects Illumigami to our office resource calendar. You may not have Illumigami hardware, but you can request access Graba -- our room reservation web app that integrates with your organization’s own resource calendar and makes room reservations a breeze. Check out www.graba.io for more information.
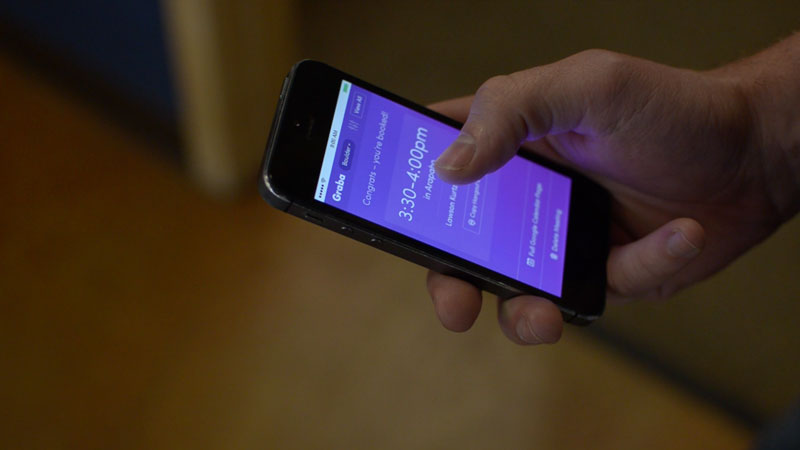
Graba works on both mobile and desktop.
We thoroughly enjoyed the remaking of Illumigami, especially video production. Questions? Fire away in the comments below. As always, we’re on the lookout for exciting hardware projects that blur the lines between the digital and physical. Don’t hesitate to reach out and say hello!